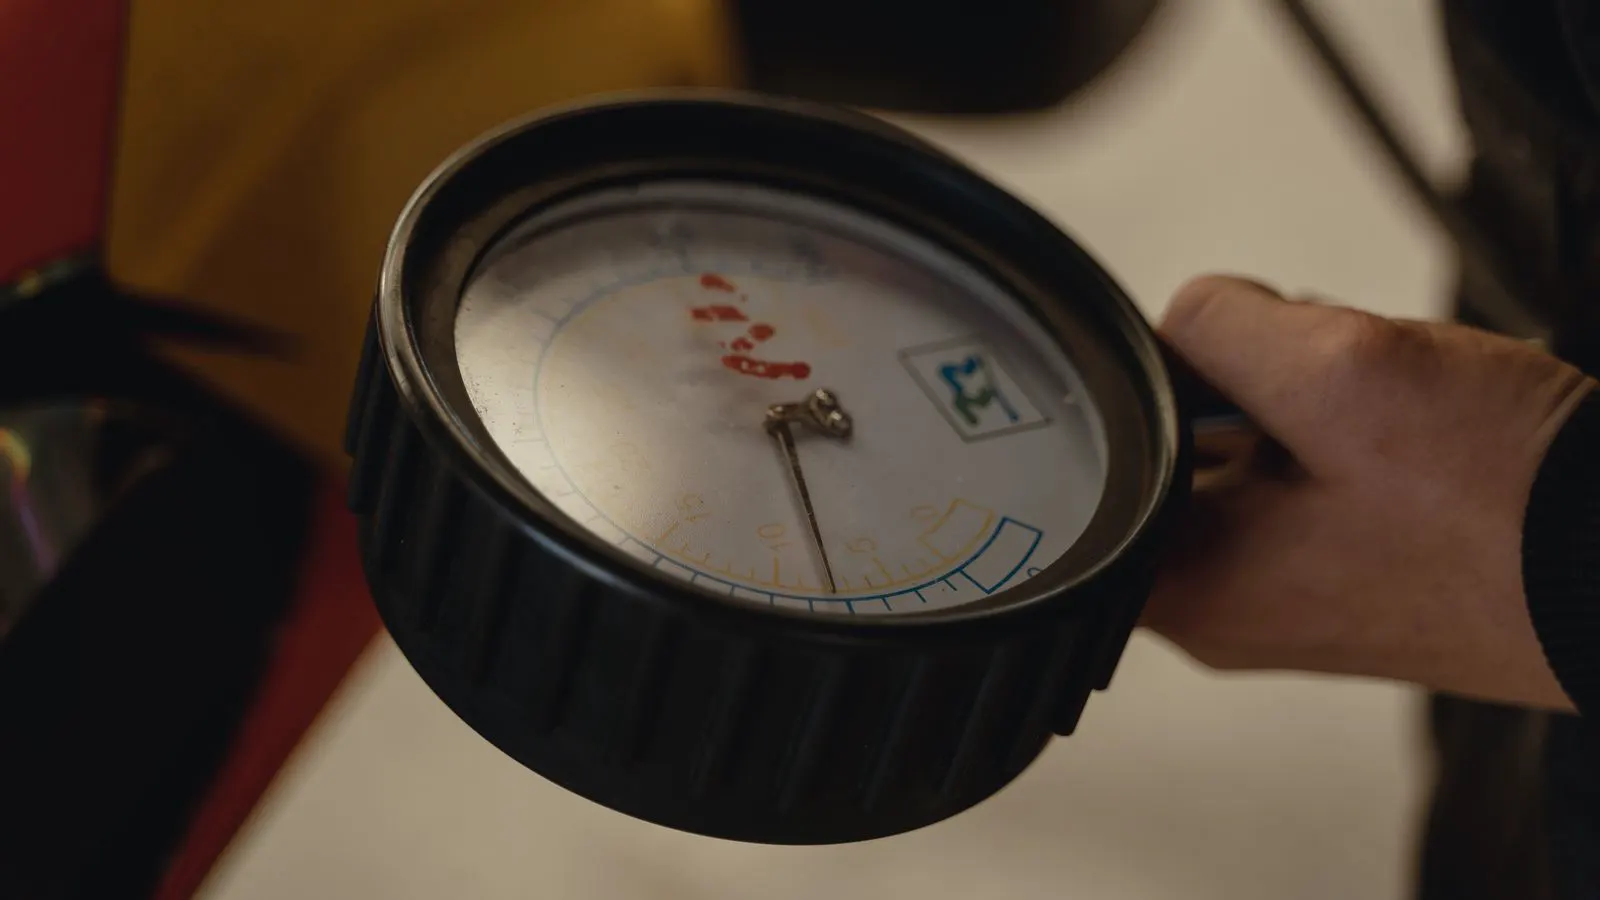
Adjusting holding pressure settings requires a systematic approach to compensate for material shrinkage. Engineers must balance pressure, temperature, and time to maintain part dimensions without creating residual stress or surface defects.
- Holding pressure settings must be adjusted based on the specific shrinkage characteristics of the resin, not just machine defaults.
- Start with the manufacturer's recommended baseline and adjust in small increments while monitoring part dimensions.
- Verify dimensional stability after each adjustment to ensure the process is repeatable across multiple production cycles.
- Avoid excessive holding pressure, which can cause sink marks, residual stress, and increased cycle time.
- Document all parameter changes to maintain process consistency and speed up future troubleshooting.
Why High-Shrinkage Resins Challenge Dimensional Accuracy
High-shrinkage resins contract significantly during cooling, often exceeding 1.5 percent volumetric shrinkage. This contraction pulls the plastic away from the mold cavity walls, creating gaps that can lead to dimensional errors, flash, and poor surface finish. The challenge is not simply filling the mold, but maintaining consistent pressure against the material as it cools and solidifies.
Most engineers know that holding pressure is the primary lever for controlling this shrinkage. However, setting the wrong value creates a cascade of problems. Too low and the part shrinks beyond tolerance. Too high and you introduce residual stress, sink marks, or even mold damage. The goal is to find the minimum pressure that keeps the part within spec while preserving mechanical integrity.
This guide provides a structured method for adjusting holding pressure settings on high-shrinkage materials. It assumes the machine is calibrated, the mold is in good condition, and the resin is dry. If any of those prerequisites are missing, fix them first.
Prerequisites Before Adjusting Holding Pressure
Before touching the holding pressure settings, confirm three things. First, the resin must be at the correct moisture content. Wet material creates vapor bubbles that mimic shrinkage issues and make parameter adjustments unreliable. Run the standard drying cycle per the resin data sheet, and verify with a moisture meter if available.
Second, mold temperature must be uniform. A 5 to 10 degree variance between zones causes uneven cooling and localized shrinkage. Check the mold heater zones against the target profile. If the mold has hot spots, correct the temperature control before adjusting pressure.
Third, verify that the injection stage is stable. The melt temperature, injection speed, and pack pressure should be locked in at their target values. You are isolating the holding pressure variable. If the injection parameters are still drifting, the holding pressure will never settle into a reliable state.
Step-by-Step Method for Setting Holding Pressure
Follow these steps in order. Each step builds on the last, and skipping any of them leads to inconsistent results.
-
Start with the resin supplier’s recommended holding pressure baseline. Most data sheets list a range for standard molds at standard cycle times. Enter this value into the holding pressure settings field. This gives you a known reference point before making changes.
-
Run five consecutive shots at this baseline pressure. Do not change anything between shots. Measure the critical dimensions of each part using a calibrated gauge or CMM. Record the average and the spread. This establishes your starting shrinkage profile.
-
If the average dimension is outside tolerance and too small, increase holding pressure by 10 to 15 percent. If the dimension is too large, decrease it by the same amount. Make only one change per adjustment. This isolates the effect of holding pressure from other variables.
-
After each pressure change, run five more shots and remeasure. Wait for the parts to cool fully before measuring. Warm parts continue to shrink slightly as they reach ambient temperature, which can skew your reading.
-
Check for sink marks and surface defects after each adjustment. High pressure can push melt into the mold core, leaving sink marks on thick sections. Inspect both the part and the mold cavity. If sink marks appear, the pressure is too high for that geometry, even if dimensions are within spec.
-
Monitor the residual stress in the part. Use a dye penetrant test or a simple bend test on scrap pieces. Excessive holding pressure creates internal stress that can lead to warpage later during post-molding operations like machining or assembly. If you see cracks or permanent deformation, back off the pressure.
-
Once dimensions are stable and no defects are present, lock in the holding pressure settings. Document the final value, the melt temperature, the mold temperature, and the cycle time. This record becomes your baseline for future production and for troubleshooting.
-
Verify repeatability over a longer run. Produce 50 consecutive parts at the locked settings. Measure every 10th part. If the dimensional spread exceeds your tolerance, the process is not stable. Recheck the resin dryness, mold temperature uniformity, and injection parameters.
-
If the process remains unstable, revisit the mold design. Some molds have inadequate venting or poor gating that traps air and exacerbates shrinkage. In those cases, no amount of holding pressure adjustment will fully solve the problem. Consult the mold designer before continuing to tune the machine.
Understanding the Trade-Offs in Holding Pressure Settings
Holding pressure is not a single-variable problem. It interacts with three other process parameters: melt temperature, mold temperature, and holding time. Increasing pressure while raising melt temperature amplifies shrinkage control but increases the risk of flash and surface defects. Lowering melt temperature can reduce shrinkage but makes it harder to fill thin sections.
The table below shows the typical interaction between holding pressure and common defects. Use it as a reference when interpreting your test results.
| Holding Pressure Change | Likely Dimensional Effect | Common Defect Risk |
|---|---|---|
| Increase pressure | Part dimensions shrink less | Sink marks, residual stress |
| Decrease pressure | Part dimensions grow | Flash, short shots |
| Hold pressure constant, increase melt temp | Part dimensions shrink less | Surface flow lines, flash |
| Hold pressure constant, decrease melt temp | Part dimensions grow | Short shots, poor surface finish |
| Hold pressure constant, increase holding time | Part dimensions shrink less | Cyclic shrinkage drift |
| Hold pressure constant, decrease holding time | Part dimensions grow | Incomplete solidification |
The key insight is that you are not optimizing for one number. You are optimizing for a balance. The holding pressure settings must work within the envelope of melt temperature, mold temperature, and cycle time to produce a part that is dimensionally accurate and mechanically sound.
Common Mistakes That Ruin Holding Pressure Adjustments
The most frequent error is adjusting holding pressure without first stabilizing the injection stage. If the injection pressure is fluctuating, the pack pressure at the end of the stroke will vary, and the holding pressure will never have a stable baseline to work from. Lock the injection parameters first.
Another mistake is measuring parts while they are still warm. High-shrinkage resins continue to contract as they cool to room temperature. If you measure a part that is 60 degrees above ambient, your reading will be larger than the final dimension. Let parts cool fully before gauging.
A third error is making large pressure jumps. Moving from 100 bar to 150 bar in one step makes it impossible to know what caused a dimensional shift. Use small increments of 10 to 15 percent. This keeps the adjustment path narrow and the data meaningful.
Finally, some engineers ignore the mold condition. A worn or pitted mold cavity changes the volume of the part, which shifts the required holding pressure. If the mold has been in production for a long time, verify the cavity dimensions with a gauge before adjusting the machine. A worn mold may need higher pressure than a new mold, and the baseline from the supplier’s data sheet will not apply.
Final Verification and Documentation
The last step is to verify that the process is repeatable. A holding pressure setting that works once is not a process. It must produce the same part every cycle. Run a 50-part verification run at the locked settings. Measure every 10th part. If the mean dimension drifts more than 5 percent of the tolerance, the process is not stable.
Document everything. The final holding pressure settings, the melt temperature, the mold temperature, the holding time, and the cycle time must be written into the process sheet. This document becomes your reference for new operators, for troubleshooting, and for future resin changes.
If the resin changes, the holding pressure settings must be re-evaluated. A switch from one high-shrinkage PA66 grade to another can shift the required pressure by 10 to 20 percent. Do not assume the old settings will carry over. Run the full adjustment method again.
This structured approach removes guesswork from holding pressure tuning. You start from a known baseline, make small controlled changes, measure the effect, and lock in a stable result. The process takes time, but it produces parts that hold their dimensions across a full production run.
When Holding Pressure Alone Will Not Solve the Problem
There are cases where holding pressure settings cannot fix the dimensional issue. If the mold has a poor gating system, the melt may cool before the cavity is fully packed, regardless of pressure. If the resin is contaminated with moisture, the vapor bubbles will cause voids that no pressure can eliminate.
In those cases, the solution lies upstream. Fix the mold design, correct the resin dryness, or adjust the injection parameters. Holding pressure is the final adjustment, not the first. Treat it as the last dial to turn, after you have confirmed that the rest of the process is stable.
When you combine stable injection parameters, uniform mold temperature, and dry resin, the holding pressure settings become a predictable and repeatable tool. That is the state where dimensional accuracy becomes achievable for high-shrinkage materials.
Frequently asked questions
How much should I increase holding pressure for a high-shrinkage resin?
Start with the supplier's recommended baseline and increase in 10 to 15 percent increments. Measure part dimensions after each change and stop when the part is within tolerance and free of defects.
Can holding pressure cause warpage in high-shrinkage parts?
Yes. Excessive holding pressure creates residual stress that can lead to warpage during cooling or after post-molding operations. Monitor for sink marks and use the minimum pressure that achieves dimensional accuracy.
How long should I hold pressure for high-shrinkage resins?
The holding time depends on the part thickness and the resin's cooling rate. A thicker part requires a longer hold to ensure complete solidification. Start with the supplier's recommended time and adjust based on measurement results.
Do I need to adjust holding pressure when changing resin grades?
Yes. Different grades of the same polymer family can have different shrinkage characteristics. Always re-run the holding pressure adjustment method when switching resin grades or suppliers.
What is the difference between holding pressure and pack pressure?
Pack pressure is the pressure applied during the final injection stage to fill the cavity. Holding pressure is the pressure maintained after the gate seals to compensate for shrinkage during cooling. They serve different functions in the cycle.