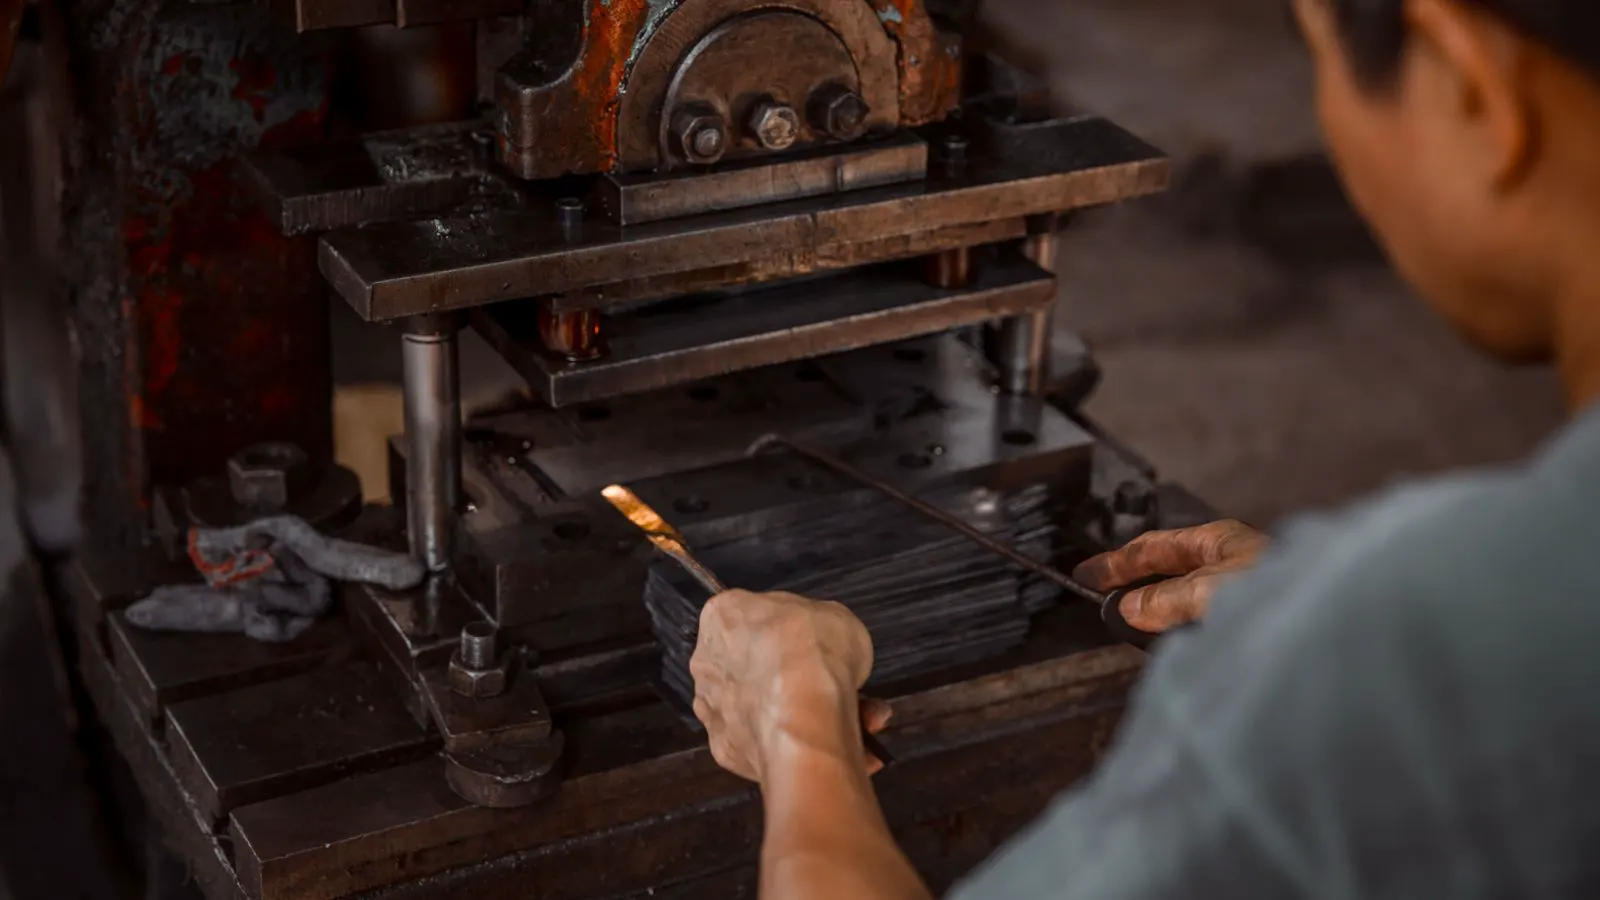
A reliable rapid tooling molder balances speed with process control. Buyers should verify tooling design, material sourcing, inspection, and press capability before committing to a supplier for prototype or production runs.
- Verify that the molder uses hardened steel or aluminum based on part volume and mold life requirements.
- Request inspection reports and dimensional data before approving production tooling.
- Check press tonnage and clamp force limits against the part design and material behavior.
- Define acceptance criteria, rework limits, and communication channels before tooling starts.
What defines a qualified rapid tooling molder
A rapid tooling molder differs from a standard production molder in how quickly it can move from a CAD file to a working mold. The speed comes from a combination of pre-machined mold base plates, modular cooling channels, and simplified parting lines that reduce machining time. Quality depends on whether the shop controls the entire chain, from tool design to final inspection. A shop that outsources heat treatment to a third party, for example, may introduce delays or inconsistencies that slow down the trial. The most capable providers keep the core machining, finishing, and initial testing in-house to maintain control over tolerances and surface finish.
Importers often face a trade-off between cycle time and durability. A mold built for ten to two hundred shots may use aluminum or pre-hardened steel. A mold for long production runs requires hardened tool steel and more complex cooling. The right supplier understands which path fits the project. They will ask about expected production volume, part geometry, and material before quoting a timeline. If the buyer provides only a drawing without context, the molder may default to a standard aluminum tool that fails after a few hundred cycles.
A common mistake is selecting a supplier based on the shortest lead time alone. If the molder cannot explain how they maintain dimensional stability during the first few shots, the risk of rework increases. Buyers need to look at the process, not just the calendar. Ask how the shop measures the mold after machining. Do they use coordinate measuring machines on the tool itself, or only on the part? A rapid tooling shop that skips tool-level inspection often passes the blame to the buyer when the part does not meet tolerance.
How to evaluate tooling design and material choice
Tool design determines whether the part fills correctly and whether the mold survives the production cycle. For thin-walled parts, the molder must consider gate location, venting, and cooling channel spacing. Poor gate placement can cause short shots, sink marks, or warp. A capable molder reviews the geometry and suggests changes before machining begins. For instance, a gate on the corner of a thin wall may starve the center of the part. Moving the gate to the center of the flow path often resolves the issue without changing the part design.
Material selection matters just as much. Aluminum molds heat up quickly and can wear if the part contains abrasive fillers. Hardened steel lasts longer but costs more and takes more time to machine. For short runs, the lower cost of aluminum often wins. For longer runs, the tool life of steel reduces the total cost per part. Consider a consumer electronics housing made from glass-filled nylon. The abrasive filler can scratch an aluminum insert within a few hundred shots. In that case, steel is the safer choice despite the higher initial cost.
Ask the supplier which steel or aluminum grade they use and whether they heat treat the mold after machining. Some shops use pre-hardened plates to save time. Others machine and heat treat in-house. Both approaches work, but the process must be documented. A molder that can provide a heat treat certificate or a material traceability log gives buyers confidence. Without this documentation, the buyer assumes the tool will last as long as the molder claims it will.
Press capability and process control
The press must match the part and material. A lightweight part may only need a small tonnage press. A thick section or a multi-cavity mold may require significantly more clamp force. If the press is under-toned, the mold halves can separate during filling. This creates flash, poor sealing, and dimensional variation. Flash is not just a cosmetic issue. It can jam the mold, damage the part, and require frequent clearing during production.
The molder should confirm the clamp force limit against the projected part pressure. This calculation depends on the projected area of the part, the material flow behavior, and the mold design. A supplier that treats this as a formality rather than a check may underestimate the risk. For example, a large automotive dashboard may require a high-tonnage press because of its size and the pressure needed to fill the large volume. If the molder uses a smaller press to save energy or time, the seal between the mold halves will leak, and the part will have excessive flash.
Process control extends to temperature, holding pressure, and cycle time. For rapid tooling, the first shots often require adjustment. A good molder runs a small set of samples, measures them, and adjusts the parameters before releasing the mold. They should be able to share a short process log that shows temperature, pressure, and cycle time for the first batch. This log should include the specific values for barrel temperature, mold temperature, injection speed, and holding pressure. Without this data, the buyer cannot replicate the process at their own facility or at a different molder.
Quality inspection and documentation
Inspection is where many rapid tooling projects fail. The buyer needs a defined method for checking dimensions, surface finish, and visual defects. Calipers, pin gauges, and optical comparators cover basic checks. For tighter tolerances, coordinate measuring machines or laser scanners may be needed. The method must match the tolerance requirements of the part. A tolerance of plus or minus fifty microns requires a different inspection approach than a tolerance of plus or minus one millimeter.
Ask for a sample inspection report before tooling release. The report should list the measured values, the tolerance, and the pass or fail status. It should also note any surface defects, such as flash, sink, or weld lines. If the molder only provides photos, that is not enough for engineering approval. A photo does not tell you if the part is within tolerance. It only tells you what the part looks like.
For multi-material or colored parts, inspection must include color matching and material blending checks. If the part uses two materials, the supplier should confirm how they control the boundary between them. This is where process stability becomes critical. Small changes in temperature or injection time can shift the blend line and create inconsistent appearance. Ask the molder how they verify the blend line consistency across multiple shots. Do they use color spectrophotometers? Do they check the blend line at multiple points on the part?
Turnaround time and communication
Turnaround time is a promise, not a fact. A supplier that gives a fixed date without explaining the steps behind it is taking a risk. The buyer should ask how the timeline breaks down. Tool design, machining, heat treat, assembly, and trial runs each take time. If one step slips, the final delivery date moves. A realistic schedule accounts for the time required for each stage. For example, if the mold requires heat treatment, the schedule must include the cooling time after the heat treat cycle.
A reliable molder communicates changes quickly. If a part feature causes a filling problem, they should flag it before machining is complete. This saves time. A supplier that waits until the mold is finished to report an issue forces a redesign and delays the project. The best molders identify potential problems during the design review phase. They share these findings with the buyer and propose solutions before cutting metal.
Set up a communication plan before tooling starts. Define who will make technical decisions, how often updates will be sent, and how samples will be shipped. Time zones matter. A molder in a different region will need clear instructions and agreed-upon response times. A daily status update is better than a weekly one for a rapid tooling project. The buyer should also agree on the method for approving samples. Do they need physical samples, or are digital photos sufficient?
Cost structure and hidden expenses
The quote for the mold is only part of the cost. Shipping, material, and tooling modifications can add to the total. Ask for a breakdown of the tooling cost. Does it include the mold base, the hot runner, the cooling system, and the finishing? Are there separate charges for heat treat or tool inspection? A transparent cost breakdown helps the buyer identify where savings can be made. For example, if the cost of the cooling system is high, the buyer may ask if a simpler design would work for the expected production volume.
Rework costs can be high if the mold fails during trial. If the part has a design flaw that the molder catches late, the cost to fix it may exceed the original tooling price. A supplier that includes a small amount of tooling adjustment time in the quote is often more realistic than one that charges extra for every change. Ask about the rework policy. How many adjustments are included? What is the cost per adjustment after that? A clear rework policy prevents disputes later.
Buyers should also consider the cost of the first production run. A mold that is fast to make but difficult to maintain can create higher long-term costs. Ask about maintenance requirements and whether the molder will support the mold after delivery. Some molders offer annual maintenance plans that include inspection, cleaning, and minor repairs. This can be more cost-effective than finding a new supplier to fix the mold when it fails.
Decision checklist
Use this checklist before signing a tooling agreement. It forces a structured review of the supplier and the project requirements.
- Confirm the expected production volume and mold life requirement.
- Verify the tool material and heat treat process.
- Check the press tonnage against the part design.
- Request an inspection plan with specific measurements.
- Define the communication plan and sample approval process.
- Clarify the cost breakdown and rework policy.
- Confirm the timeline with a step-by-step schedule.
This checklist ensures that the buyer is not relying on the molder’s word alone. It creates a shared understanding of what is expected and how it will be delivered. If a molder resists providing information on any of these points, it is a sign that the process may be less controlled than expected.
Final thoughts
Selecting a molder is a technical decision, not a purchasing one. The supplier must understand the part, the material, and the production environment. They should be willing to ask questions and share data. If a supplier avoids these topics, it is a sign that the process may be less controlled than expected. A qualified molder will want to know the details of the part, the material, and the production environment. They will ask questions about the part’s function, the material’s behavior, and the production environment.
The goal is not the fastest mold. The goal is a mold that produces the part correctly, on time, and within budget. A qualified rapid tooling molder will demonstrate that capability through process, documentation, and communication. The buyer who invests time in evaluation will avoid the costly mistakes that come from choosing speed alone. The time spent in evaluation is an investment, not a cost. It reduces the risk of rework, delays, and defects.
Frequently asked questions
What is the difference between a prototype molder and a production molder?
A prototype molder often uses aluminum or pre-hardened steel to reduce cost and time. A production molder uses hardened steel and more complex cooling for long tool life. The choice depends on expected volume.
How do I know if a molder can handle my part?
Review the part geometry, material, and expected production volume. A capable molder will check clamp force, gate design, and cooling before quoting. Ask for a short process review.
Should I require an inspection report for every batch?
For production, yes. The report should list measured dimensions, tolerances, and visual checks. For prototypes, a sample inspection report before release is usually enough.
What happens if the mold fails during the first trial?
The molder should stop, diagnose the issue, and make a correction. If the design is flawed, a redesign may be needed. A good supplier will flag the problem early to limit cost.
Can a rapid tool molder also support long production runs?
Some can, if the mold is built with production-grade materials and cooling. Others specialize in short runs. Confirm the tool life and maintenance plan before committing.