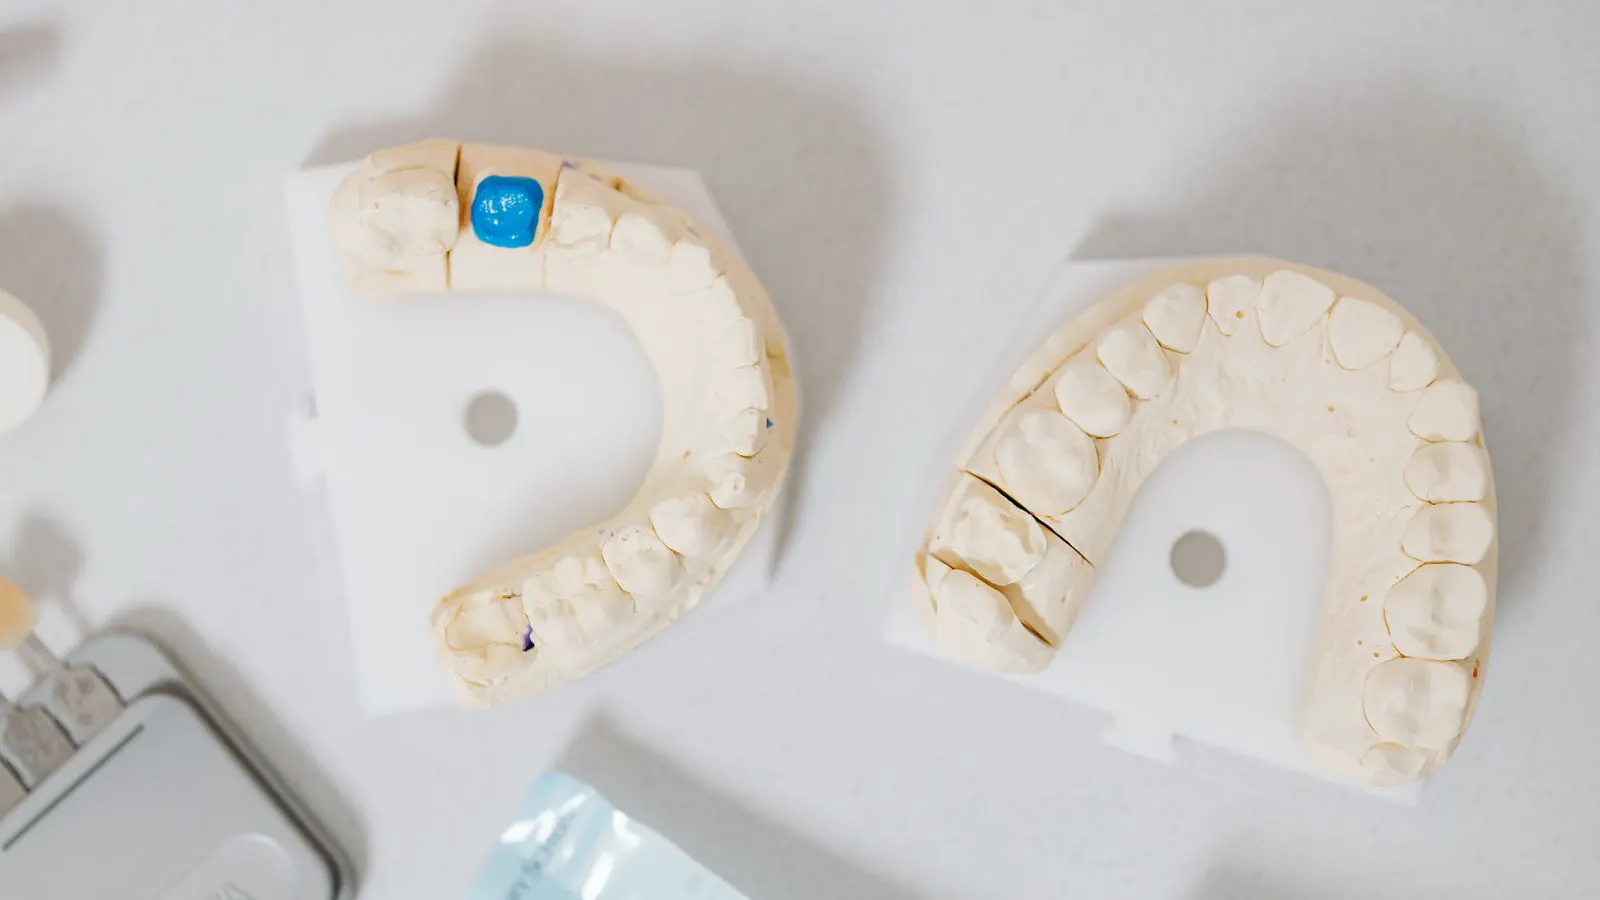
Mold warpage happens when material cools unevenly. Fix curved parts by balancing the mold design, improving cooling, and adjusting process settings. A stable mold reduces distortion and improves part quality.
- Warpage usually starts with uneven cooling or imbalance in the mold design.
- Fix curved parts by adjusting cooling time, gate location, and part geometry.
- Use mold flow analysis to predict stress before steel is cut.
- Track dimensional changes over time to catch slow distortion early.
- Prevent rework by reviewing the mold design before tooling is finalized.
What causes parts to curve after molding
Warpage shows up when a part cools unevenly. One side of the material solidifies before the other. The side that stays liquid longer shrinks as it cools. That differential shrinkage pulls the part into a curve.
You often see this in thin walls, long plates, and parts with uneven gate locations. A single gate on one side of a large panel can starve the opposite corner. The material there fills later and cools slower. The part bows toward the gate as it hardens.
Heat sink effects make this worse. A thick rib, a boss, or a metal insert can pull heat from the nearby mold steel. That area cools faster and shrinks differently than the surrounding surface. The result is a localized twist or a cupped edge.
How mold design drives distortion
The mold design sets the limits for what the process can achieve. A well-balanced mold design keeps the part from developing internal stress. Poor design forces the operator to fight the geometry every shot.
Gate location is the first thing to check. A single gate on a large flat panel creates a long fill path. The material travels far before it reaches the far end. It cools while moving. The final section freezes with more residual heat. That section shrinks more as it cools to room temperature.
Consider a flat plate part. If the gate is on the left edge, the right edge fills last. The right edge stays hot longer. It shrinks more. The part curves toward the gate. A double gate, one on each edge, fills the panel from the center outward. The cooling is more even. The part stays flatter.
Rib placement also matters. Ribs add stiffness but they act as heat sinks. A rib on one side of a part pulls heat away from the mold steel. That zone cools faster than the open cavity. The rib side shrinks first. The part twists.
The mold design must match the part geometry. If the part has a deep corner or a thin wall, the mold steel needs to compensate. A thick rib on the mold steel near the corner can help balance cooling. The tooling engineer must look at the entire mold, not just the cavity.
Cooling imbalance and part quality
Cooling is the biggest lever for part quality. The mold temperature and cooling time control how fast the part solidifies. If the cooling channels are uneven, the part warps.
The mold steel must be thick enough to hold temperature. Thin mold sections heat up quickly. The part surface cools fast, but the core stays hot. The skin freezes before the inside. That creates a temperature gradient inside the part. The gradient drives shrinkage.
Cooling channel layout is critical. Channels too far from the part surface do not remove heat fast enough. Channels too close to the part can cause cold spots. Cold spots create flash or a thin skin. Both problems lead to distortion.
The cooling system needs to be balanced. Both cavities in a two-cavity mold should cool at the same rate. If one cavity runs hotter than the other, one part curves left and the other curves right. This is common in multi-cavity molds with asymmetric parting lines.
Use a thermal camera or a temperature sensor on the mold surface. Check the mold at steady state. You should see a smooth temperature profile across the cavity. Hot spots on one side mean the cooling is not even.
Process settings that make warpage worse
The process can hide a bad design, but it cannot fix it. Running the process with high injection pressure pushes more material into the mold. That increases packing. Packing increases internal stress. The part holds that stress until it cools. Then it releases it as warpage.
High melt temperature softens the material. It fills the mold easily, but it shrinks more as it cools. Higher shrinkage means more distortion. Lowering the melt temperature can reduce warpage, but it may increase sink marks or short shots. You must find a balance.
Injection speed matters too. Fast injection creates shear heat. The material heats up as it moves through the gate. That heat stays in the part. The part shrinks more. Slowing the injection speed reduces shear heat. It also allows the material to cool more evenly.
Holding pressure and holding time affect packing. Too much holding packs the part too tightly. The part cools with high internal pressure. As it shrinks, it pulls against the mold. The result is a warped part. Reduce holding pressure if the part is still filling correctly.
What to do when parts curve in production
When a part curves, do not just turn up the cooling. Check the whole system. The part may need a new mold design. The process may need a new gate. The material may need a lower viscosity.
Start by measuring the part. Put the part on a flat surface. Check the gap at the corners. A small gap means the part is cupping. A large gap means the part is bowing. Measure the gap at multiple points. Record the direction of the curve.
Next, check the mold temperature. Run the mold at a lower temperature. The part cools slower. The shrinkage is more even. If the part still warps, the mold design is the problem.
If the mold design is the issue, consider a mold flow analysis. The simulation shows where the material fills and where it cools. It highlights the hot spots. It shows where the stress builds. Use the simulation to redesign the gate or add cooling channels.
A small change in the mold design can fix the problem. Moving the gate to the center of a panel can flatten the part. Adding a second gate can balance the fill. Adding a cooling channel near a thick rib can equalize the temperature.
Prevention tips for stable production
Prevent warpage before you cut the steel. Use a mold flow analysis to predict the fill and cooling. The simulation shows the cooling time for each section. It shows where the shrinkage will be highest. Adjust the mold design in the software. Test the changes virtually. Then tool the mold.
Review the part geometry. Thin walls should be as thick as possible. Ribs should be evenly spaced. The part should have a uniform wall thickness. If the part has a large flat area, add a slight crown. The crown gives the part a way to shrink without warping.
Control the material. Use a material with low shrinkage if possible. Avoid materials with high shrinkage for thin walls. Check the material lot. Different lots can have different flow properties. Use the same lot for a production run.
Track the part dimensions over time. Measure a sample of parts every shift. Plot the gap on a chart. If the gap grows, something is changing. It could be mold temperature, material lot, or machine condition. Catch the drift early.
Keep the mold clean. Buildup on the mold surface changes the cooling. A dirty mold cools unevenly. Clean the mold regularly. Check the cooling channels for scale. Scale blocks the coolant. It creates hot spots.
When to redesign the mold
Some warpage cannot be fixed with process adjustments. The mold design is fundamentally unbalanced. The part geometry is too thin. The gate location is wrong. The cooling system is missing.
If the part curves by more than a few hundredths of an inch, the mold design is likely the cause. Process tweaks can only reduce the effect. They cannot remove it. A new mold design is needed.
Review the mold design with the tooling engineer. Bring the part to the table. Show the curve. Show the measurements. Ask for a new gate location. Ask for a new cooling layout. Ask for a new rib placement.
The new mold design should be validated. Run a mold flow analysis on the new design. Check the fill and cooling. Check the residual stress. If the simulation shows a flat part, tool the mold. If it shows a curve, redesign again.
A good mold design saves time in production. It reduces rework. It improves part quality. It lets the machine run at a stable rate. The tooling cost is higher, but the production cost is lower.
How to document the fix
Write down what you changed. Record the mold temperature, the holding pressure, and the gate location. Record the material lot. Record the machine. Record the date.
Use a change log. When you adjust the process, log the change. When you modify the mold, log the change. When you switch the material, log the change.
This document helps the next operator. It helps the next engineer. It shows what works and what does not. It prevents the same mistake from being made again.
A good change log is a simple list. It does not need to be long. It needs to be clear. It needs to be kept.
Frequently asked questions
Can I fix mold warpage with a higher injection pressure?
No. Higher pressure increases packing and internal stress. It usually makes warpage worse. Lower the pressure and check the mold design.
Is mold flow analysis worth the cost for a small part?
Yes. It predicts the fill and cooling. It prevents a bad mold design. It saves tooling cost and production time.
How do I know if the mold cooling is unbalanced?
Use a thermal camera. Check the mold surface at steady state. Hot spots on one side mean the cooling is uneven.
What material choice reduces warpage?
Choose a material with low shrinkage. Avoid high shrinkage materials for thin walls. Use a consistent material lot.
Should I add a crown to a flat part?
Yes. A slight crown helps the part shrink without warping. It is a common fix for flat panels.