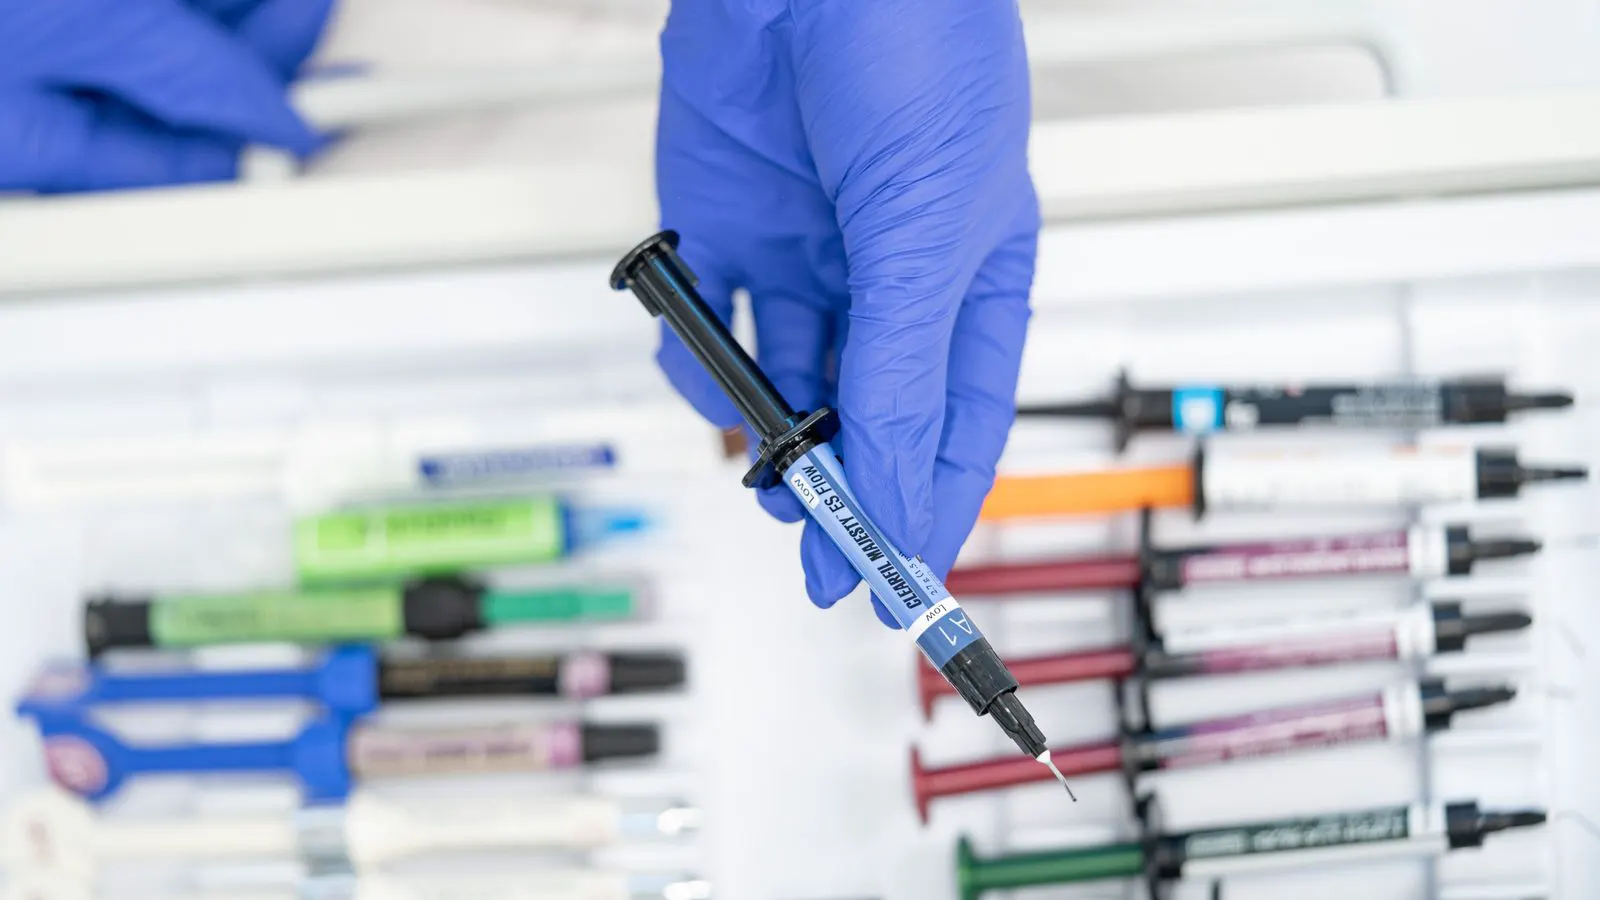
Use this checklist to verify packaging materials for injection molding. It covers resin selection, drying, cycle times, and surface quality checks. This prevents defects like warp, flash, and contamination, ensuring reliable production of bottles, trays, and caps.
- Confirm resin datasheets match actual material lots before tooling.
- Verify drying times and moisture limits to prevent splay and voids.
- Check surface finish requirements against mold steel and mold release.
- Validate cycle times against machine tonnage and cooling capacity.
- Inspect for flash, sink marks, and contamination during sampling.
Confirming Resin Identity and Datasheets
Start by matching the physical resin to the documentation. Packaging applications demand strict consistency. A single lot variation can change melt flow index, heat deflection temperature, or clarity. Pull the mill certificate for the specific lot. Check the resin code against the part design file. Mismatched codes are a common source of failure.
Look at the melt flow index. A higher MFI flows easier but has lower strength. A lower MFI requires more pressure and time. Packaging parts often sit at a middle ground. Verify the MFI value against the machine capability. If the resin is too viscous, the machine may not reach the required injection pressure. This leads to short shots. If it is too fluid, it is harder to control. It can cause flash.
Check the filler content. Many packaging plastics use glass or mineral fillers for stiffness. Fillers increase density and reduce warpage. They can scratch the mold. They also increase tool wear. Confirm the filler type and percentage. Glass filled polypropylene behaves differently than mineral filled polypropylene. Mineral fillers are usually less abrasive. Glass fillers provide more stiffness. Choose based on the end use. The datasheet must state the exact filler loading.
Verify the additive package. Colorants, UV stabilizers, and nucleating agents are common in packaging. These additives affect cycle time and mold life. Nucleating agents reduce cycle time by speeding solidification. They also reduce warpage. UV stabilizers protect against yellowing. Confirm the additive package on the datasheet. Ask the supplier for a second source document if the datasheet is outdated. Do not rely on verbal confirmation alone.
Evaluating Drying and Moisture Control
Water is the enemy of many packaging resins. Hygroscopic materials absorb moisture from the air. This moisture creates bubbles in the melt. It causes splay marks, voids, and pinholes. Check the drying time and temperature. Polypropylene and polystyrene are moderately hygroscopic. Polyamide and other engineering plastics are highly hygroscopic. Packaging often uses polypropylene, polystyrene, or acrylonitrile butadiene styrene. These materials have different absorption rates.
Weigh a sample before drying. Weigh it again after the standard drying time. The weight gain should match the expected moisture content. If the weight gain is low, the material is dry. If it is high, the material is still wet. Run a small test shot. Look for splay marks. Splay marks are a clear sign of trapped moisture. They appear as rough, fibrous textures on the surface.
Check the dryer condition. A clogged filter or a failing desiccant bed reduces drying efficiency. Inspect the dryer before production. Listen for the flow of dry air. Check the temperature sensor. A faulty sensor can lead to under-drying or over-drying. Over-drying degrades the resin. It changes the color and lowers the mechanical properties. Use a moisture meter if available. It gives a more accurate reading than a scale.
Verifying Mold Temperature and Cooling
Mold temperature controls surface finish and cycle time. Packaging parts often require a glossy surface. A higher mold temperature improves flow and gloss. It also increases cooling time. Lower temperatures cool the part faster. They reduce cycle time. They can trap air and cause surface defects. Find the balance.
Check the mold base design. A well-designed mold base has good cooling channels. Uneven cooling leads to warpage. Warpage is a major defect in packaging. It causes stack issues and fit problems. Measure the mold temperature at different points. Use a thermocouple probe. Check the hot runner temperature. A hot runner holds the melt. It prevents cold spots. It also adds to the cycle time. Verify the hot runner temperature is within the resin range.
Look at the cooling channel geometry. Parallel channels are standard. Spiral channels are used in larger molds. Check the channel spacing. Closer spacing cools the mold faster. It also increases the risk of thermal stress. Use a thermal imaging camera if possible. It shows the temperature distribution. Look for hot spots. Hot spots cause sink marks. Sink marks are a red flag for poor cooling.
Checking Surface Finish and Mold Release
Packaging is a visual product. Surface defects are often visible to the customer. Check the mold steel finish. A polished mold gives a glossy part. A textured mold gives a matte part. The finish must match the design intent. A glossy part on a matte mold looks wrong. A matte part on a polished mold looks dirty.
Verify the mold release agent. Some release agents leave a residue. The residue attracts dust. It reduces grip. It also causes adhesion issues. Test the release agent on a small area. Wipe the part with a clean cloth. If the cloth picks up a film, the release agent is not compatible. Switch to a different agent. Water-based release agents are often easier to clean. Oil-based agents are more durable. Choose based on the production speed.
Check for flash. Flash is excess plastic that oozes into the mold parting line. It is a sign of high pressure or a loose fit. Look at the parting line. Flash can be sharp or soft. Sharp flash indicates a high injection pressure. Soft flash indicates a loose mold fit. Trim the flash and re-inspect. If the flash persists, adjust the process parameters. Do not rely on trimming alone. Trimmed flash can cause stress concentrations. It can lead to cracking.
Validating Cycle Time and Machine Capacity
Run a full cycle on the machine. Time each phase. Injection, packing, holding, and cooling. The cooling phase is usually the longest. It determines the cycle time. If the cooling time is too short, the part is soft when it is ejected. It deforms. It sticks to the mold. Extend the cooling time. Check the machine tonnage. The tonnage must be high enough to overcome the mold resistance. If the tonnage is too low, the mold will not close. If it is too high, it is a waste of energy.
Check the clamping force. The clamping force must be greater than the injection force. Calculate the injection force based on the melt pressure and the projected area. Use the datasheet values. Verify the machine can deliver that force. Look at the pressure gauge. The pressure should be stable. A fluctuating pressure indicates a problem. It could be a leak. It could be a worn pump. Fix the machine before running production.
Check the ejection system. The ejector pins must be sized correctly. They must be strong enough to push the part out. They must not be too close to thin walls. Thin walls can crack. Inspect the ejector pins. Look for wear. Worn pins cause uneven ejection. They can leave marks on the part. Replace the pins if needed. Check the ejector plate. It must be flat. A warped plate causes uneven pressure. It leads to defects.
Inspecting for Contamination and Color Consistency
Check the material for contamination. Foreign particles can ruin the part. A metal chip can scratch the mold. A plastic shard can cause a void. Use a metal detector. It detects ferrous and non-ferrous metals. Use a visual inspection. Look for discoloration. Discoloration indicates degradation. It can come from heat or light. Check the color consistency. Packaging parts must match the approved sample. Use a colorimeter. It measures the color difference. A difference of one unit or less is usually acceptable. A larger difference is a red flag.
Check for ash content. Ash content is a measure of the non-combustible material. It includes fillers and impurities. High ash content indicates poor material quality. It can cause color variation. It can affect the mechanical properties. Ask the supplier for the ash content value. Compare it to the datasheet. If it is higher, the material is not pure. It may contain recycled content. Recycled content is acceptable in some applications. It is not acceptable in others. Check the specification.
Final Quality Audit
Run a final audit before starting production. Check the material lot. Check the machine settings. Check the mold condition. Run a sample. Inspect the sample for defects. Look for flash, sink marks, warpage, and splay. Check the dimensions. Use a caliper. Check the surface finish. Use a gloss meter. Check the color. Use a colorimeter. Check the mechanical properties. If needed, run a tensile test. Compare the results to the specification. If the results are out of range, stop production. Fix the issue. Do not ship the part. A defective part is a costly failure. It damages the brand. It leads to returns.
Keep a record of the audit. Save the datasheets. Save the machine settings. Save the audit results. This record is useful for future reference. It helps in troubleshooting. It helps in quality control. It helps in continuous improvement. Use the checklist. It is a practical tool. It saves time. It reduces errors. It ensures quality. Use it every time. Do not skip steps. Do not guess. Verify.
Common Mistakes to Avoid
Do not skip the drying step. It saves time. It causes defects. Do not ignore the mold temperature. It affects the finish. Do not use the wrong release agent. It causes residue. Do not run the machine without checking the tonnage. It causes damage. Do not ship parts without a final inspection. It causes returns. Follow the checklist. It is designed to prevent these mistakes. Use it as a guide. Adjust it to your specific application. But do not remove the core checks. They are the foundation of quality.
Frequently asked questions
What is the best resin for packaging?
There is no single best resin. The choice depends on the application, cost, and performance. Polypropylene is common for trays. Polystyrene is common for cups. Acrylonitrile butadiene styrene is common for bottles.
How do I know if my resin is dry?
Weigh a sample before and after drying. If the weight gain is low, it is dry. Run a test shot and look for splay marks. Splay marks indicate trapped moisture.
What causes flash in injection molding?
Flash is caused by high injection pressure or a loose mold fit. It can also be caused by a worn mold. Check the pressure and the mold fit. Adjust the process if needed.
How do I check the surface finish?
Use a gloss meter. It measures the gloss level. Compare it to the approved sample. If the gloss is too low, check the mold temperature and the release agent.
What is the most common defect in packaging?
Warpage is a common defect. It is caused by uneven cooling. Check the mold design and the cooling channels. Adjust the mold temperature to reduce warpage.