A supplier audit verifies that an injection molder can meet your quality, capacity, and compliance requirements. This process uses a structured checklist to examine tooling, process control, and documentation. It helps buyers select reliable partners before committing to high-volume production.
- A supplier audit checks if a molder can produce your specific part, not just general plastic parts.
- Use a standardized molder audit checklist to compare vendors against the same criteria.
- Inspect the tooling room and process controls to verify capability beyond paperwork.
- Document findings clearly and require corrective actions before final vendor selection.
A supplier audit separates capable injection molding partners from those that will cause production delays. It is a structured evaluation of a molder’s ability to make your part, meet your quality standards, and handle volume. This guide breaks down the process for on-site or virtual reviews.
Why You Need a Structured Audit Process
Generic vendor evaluation often misses the details that cause production failures. A molder may look strong on paper but fail when handling a specific material or tolerance. A supplier audit focuses on your specific part and your specific requirements.
The audit checks three main areas: process capability, quality systems, and business stability. Process capability covers the machines, tooling, and materials needed to make your part. Quality systems cover how the molder inspects, documents, and corrects defects. Business stability covers capacity, financial health, and responsiveness.
Without a structured process, audits become subjective. One buyer might focus only on price. Another might focus only on machine age. A standard approach ensures every vendor is judged against the same criteria. The goal is to remove bias from the decision.
Consider a scenario where two molders bid on a medical connector. Both offer the same price. One uses a three-year-old machine with a certified operator. The other uses a ten-year-old machine with a new operator. A structured audit forces you to check operator training logs and machine calibration records. It prevents you from picking the cheaper bid that lacks the discipline to hold tight tolerances.
Step 1: Define Your Part Requirements
Before contacting any molder, prepare a detailed part specification. This includes the material grade, dimensions, tolerances, surface finish, and any secondary operations. For example, a medical device part requires tight tolerances and a specific resin lot history. An automotive bracket may need UV stabilization and a specific color.
This step matters because it sets the baseline for the audit. If you ask a molder to make a part with 0.1 mm tolerances in a standard engineering plastic, their capability will differ from a molder making a consumer housing with 0.5 mm tolerances. The tolerance window defines the required precision of the mold and the control of the machine.
Prepare a sample or a CAD file. Bring both if possible. The molder needs to see the exact geometry to assess tooling needs. If you have a working prototype, bring it. It helps the molder understand the intended fit and function.
Include the expected annual volume in your requirements. A part produced in low volume allows for more manual inspection. A part produced in high volume requires automated in-mold gauges and strict SPC. State the shipping destination. This helps the molder consider packaging and transport conditions that might affect part integrity.
Step 2: Build Your Molder Audit Checklist
Create a checklist that matches your part requirements. A generic molder audit checklist should not be the only tool. Add rows specific to your product.
For a consumer electronics part, add a row for surface blemish acceptance. For an automotive part, add a row for thread engagement testing. For a packaging part, add a row for cycle time and stacking requirements.
Keep the checklist objective. Use pass/fail criteria where possible. For example, “Molder has documented first article inspection process” is objective. “Molder looks organized” is subjective. Subjective observations create arguments during the review. Objective data creates a clear record.
| Audit Area | Specific Check Item | Pass Criteria |
|---|---|---|
| Tooling | Mold maintenance schedule | Written log with dates and actions |
| Process | Machine calibration | Calibration stickers within validity dates |
| Quality | Defect tracking system | Digital or paper log with root cause |
| Capacity | Machine utilization | Available capacity meets peak demand |
| Documentation | Material traceability | Batch numbers linked to part serials |
Review the table before your visit. Ensure every row has a clear pass criterion. If you cannot define what a “pass” looks like, you cannot grade the item. This preparation prevents you from being surprised by a finding that you did not know to ask about.
Step 3: Review Business and Capacity Data
Request the molder’s recent financial statements, customer list, and capacity report. This is part of your vendor evaluation. You need to know if the molder can take on your volume without dropping existing customers.
Check their current order backlog. If they are at 95 percent capacity, they may not have time for your new part. If they are at 60 percent, they may have flexibility. Look at the trend, not just the current snapshot. A molder that was at 80 percent last year and is now at 95 percent is growing. A molder that dropped from 90 percent to 60 percent may be losing business. Both scenarios require different risk assessments.
Ask about their key customers. If one customer accounts for 80 percent of their revenue, that is a risk factor. A balanced customer base suggests stability. Ask who their top three customers are. If one of them is a competitor of yours, ask about conflict of interest.
This step prevents a molder from overcommitting. It also helps you negotiate better terms. A molder with spare capacity may offer more flexibility on lead times or pricing. They may also be more willing to accept a new tooling project because they need the revenue.
Step 4: Inspect the Tooling Room
The tooling room reveals a molder’s true capability. Look for clean, organized storage. Check if molds are labeled with part numbers, dates, and last maintenance records. A mold should be identifiable at a glance.
Ask about their tooling modification process. Do they have in-house machinists? Or do they outsource all changes? For high-volume parts, in-house tooling capability matters. It reduces lead time for design changes. If they outsource, ask about their relationship with the tooling vendor. Do they have a standing agreement?
Check if they have a mold inspection station. They should be able to show you how they verify mold dimensions. For example, using a CMM or micrometers on the mold cavity. If they do not have these tools, ask how they verify the mold before starting production.
If the tooling room is disorganized, it often reflects a broader process problem. A disorganized tooling room may mean lost molds, delayed changes, and poor communication. Look for the state of the floor. Is it clean? Are there tools left out? These small details indicate how seriously the molder takes their equipment.
Step 5: Observe the Injection Molding Floor
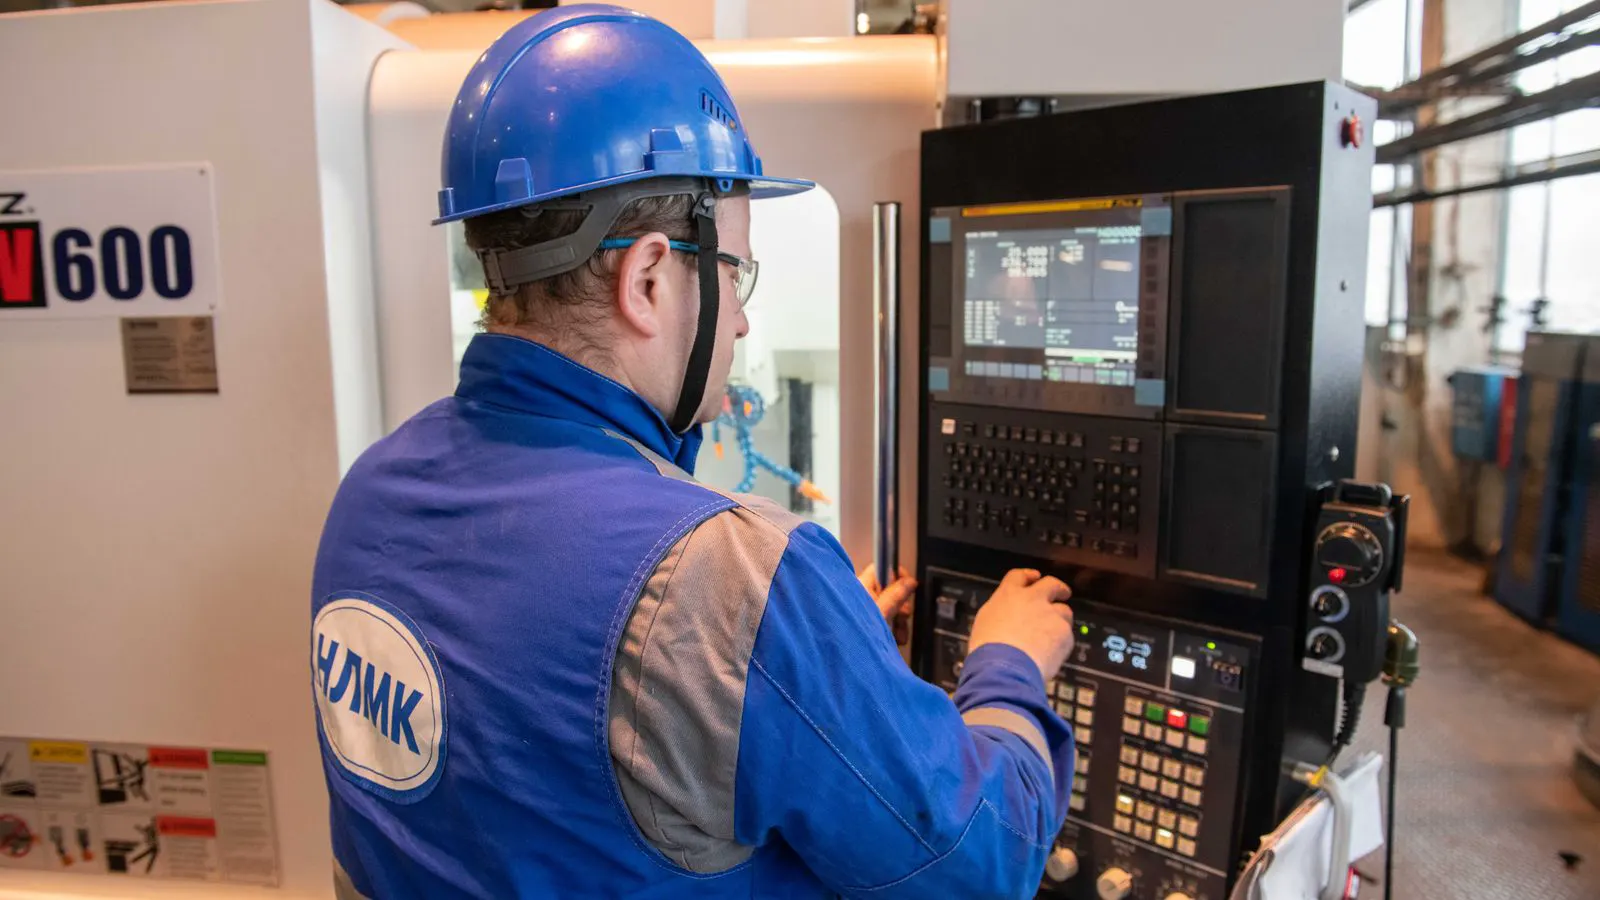
Spend time on the floor watching parts cycle. Look for operators who are trained and engaged. They should know the parameters for the part they are running. Ask an operator to explain the injection pressure setting. Do they know why it is set to that value?
Check the machine settings. For your specific part, ask if they use process control charts. They should track weight, pressure, and temperature for each shot. This is basic quality control. If they do not track these variables, ask how they ensure consistency.
Look for scrap bins. How much scrap is there? What are the common defects? If they are short shots, ask how they fix them. If they are flash, ask about mold maintenance. The scrap bin tells you what the molder is fighting against every day.
This observation step shows you how the molder handles real production. Paperwork is static. The floor is dynamic. You want to see a living process. Watch for the interaction between the operator and the quality inspector. Are they working together? Do they share defect information quickly?
Step 6: Verify Quality Documentation
Ask for their most recent first article inspection reports. For your specific part, they should be able to show you how they verify dimensions. Look for the measurement data. Are the values within your specified tolerances? Are the measurements taken with calibrated instruments?
Check their material certificates. For medical or food contact parts, the material must meet specific standards. The molder should be able to provide the mill certificate for every lot. Ask how they store these certificates. Are they linked to the specific production run?
Look at their non-conformance reports. When a defect occurs, what is the root cause? What is the corrective action? Do they repeat the problem? A good quality system shows a pattern of closure. Bad reports show the same issue appearing multiple times without a permanent fix.
This step verifies that their quality system works in practice. A molder may have a good quality manual. But if their non-conformance reports are vague, the system is not working. Ask for a specific example of a recent defect. Walk through the investigation with them. This tests their actual competence, not just their documentation.
Step 7: Test Their Responsiveness and Communication
Send a test question during the audit. Ask about a specific change in your part drawing. See how they respond. Do they ask clarifying questions? Do they provide a clear answer? This test reveals their technical depth. A good molder will ask about the impact of the change on cycle time and tooling.
Check their communication channel. Do they have a dedicated project manager? Or will you talk to a different person every time? A dedicated point of contact saves time. Ask who will be your primary contact during production. Ask who will be their backup.
Ask about their escalation process. If a problem occurs on the floor, who do you call? How fast will they respond? Get a specific number and a specific name. Do not accept vague promises.
This step is part of your vendor evaluation. A technically strong molder with poor communication will cause problems. You need a partner who keeps you informed. Ask for a sample of their weekly production report. Check the format. Is it easy to read? Does it include the data you need to make decisions?
Common Mistakes to Avoid
One common mistake is auditing only the machines. The machines are important, but the people and processes matter more. A new machine run by an untrained operator will make bad parts. Check the operator’s training records. Ask them to demonstrate a basic troubleshooting step.
Another mistake is skipping the financial review. A molder that is about to go bankrupt will not be a reliable partner. Check their financial health before signing a long-term agreement. Look at their cash flow. Are they paying their suppliers on time?
Do not rely on a single visit. If possible, do a follow-up visit after three months. See if the issues you found were corrected. This is your final verification step. Audits are not one-time events. They are ongoing relationships.
Final Verification Step
After the audit, write a report. List every finding with a pass/fail status. Include photos and documents. Share this report with your team. The report should be factual. It should state what you saw and what it means.
Require the molder to send a corrective action plan for any failures. Set a deadline for resolution. Verify that they fixed the issues. Ask for evidence of the fix. If they corrected a labeling issue, show them the new labels.
Then make your decision. Choose the molder that met your requirements and showed you a working process. This is your supplier audit done properly.
Frequently asked questions
How long does a supplier audit for an injection molder usually take?
A focused on-site audit can take one to two days. A virtual audit may take less time but requires more document review in advance.
Do I need to be an engineer to run a molder audit checklist?
No. You need to understand your part requirements. A trained auditor can help interpret the technical details on the floor.
Can I use the same molder audit checklist for every vendor?
Yes, for the base sections. But you must add specific rows for your part, material, and quality requirements to make it useful.
What is the biggest red flag during an injection molding floor observation?
A molder that cannot explain why a part is failing or how they control the process parameters for your specific geometry.
Is a virtual supplier audit as effective as an on-site visit?
It can be effective for initial screening. For final selection, an on-site visit is better because it shows the actual process and culture.